If you are experiencing any engine stability issues, like unstable RPMs, engine misfire, long startups, or sudden jerks while pushing the acceleration pedal then they could be symptoms of a faulty crankshaft sensor and you need to test the sensor for confirmation and replacement. These issues can also be due to some other electrical faults so first you need to confirm it before replacing the sensor.
Diagnostic Scan tool

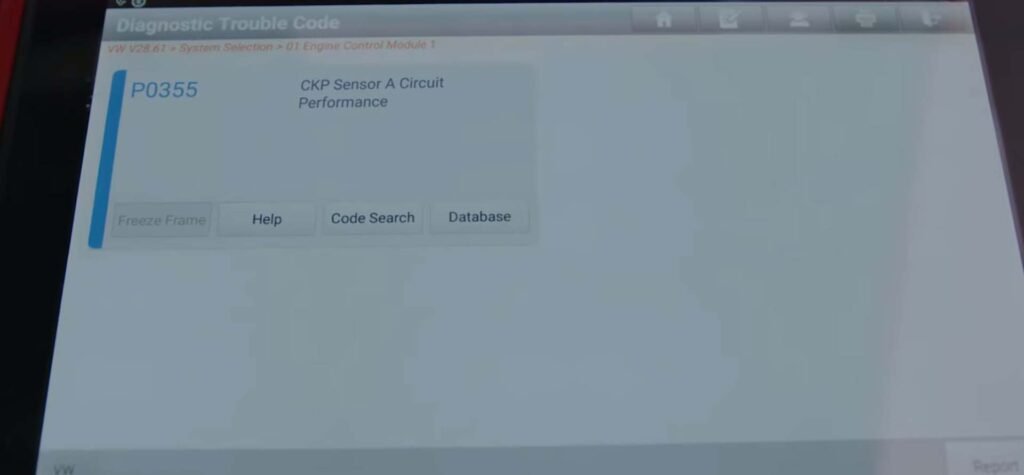
If you own a scan tool, connect it to your car’s diagnostic port and check for any error codes related to the sensor. Codes for faulty crankshaft position sensors range from P0335 to P0338. If you get some other code then there could be some other electrical issue. Always consult the owner’s manual for verification.
Crank RPM Reading test
The scan tool is required for this test as well. All the modern scanners can read the engine speed in revolutions per minute (RPM). The crankshaft position sensor provides the RPM reading at the time of cranking. Attach the scanner to the port and set the menu to the RPM reading. Now crank the engine and note the RPM reading. Normal ranges for RPM should be from 100 to 500 RPM.
If the scanner reads other readings than the normal range then the crankshaft position sensor can be faulty. If it does not read any reading or near zero value then it means the sensor is not working completely and needs to be replaced.
Visual Inspection

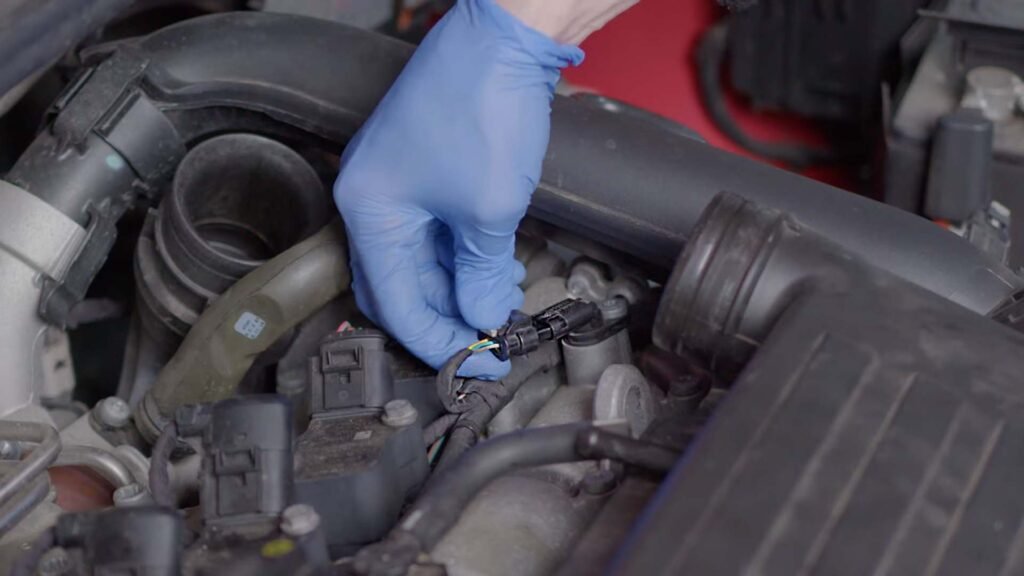
If you do not have an OBD-II scanner then you can still check it through visual inspection. Make sure the engine is turned off and remove the negative terminal of the battery for safety. Locate the crankshaft position sensor. In most cases, it is located near the crankshaft pulley or the transmission housing. If you are unable to find the exact location then consult your car’s user manual.
Now visually inspect the sensor, wiring, and its grip. If any abnormality is found like a loose grip or broken wire then try to repair it if necessary.
Multimeter test

For this test, you need to completely remove the crankshaft position sensor from the car. Before removing make sure the car engine is turned off and you have removed the negative terminal of the car battery for your safety. Now locate and gently remove the sensor wire grip and then remove the sensor.
Sensor resistance test
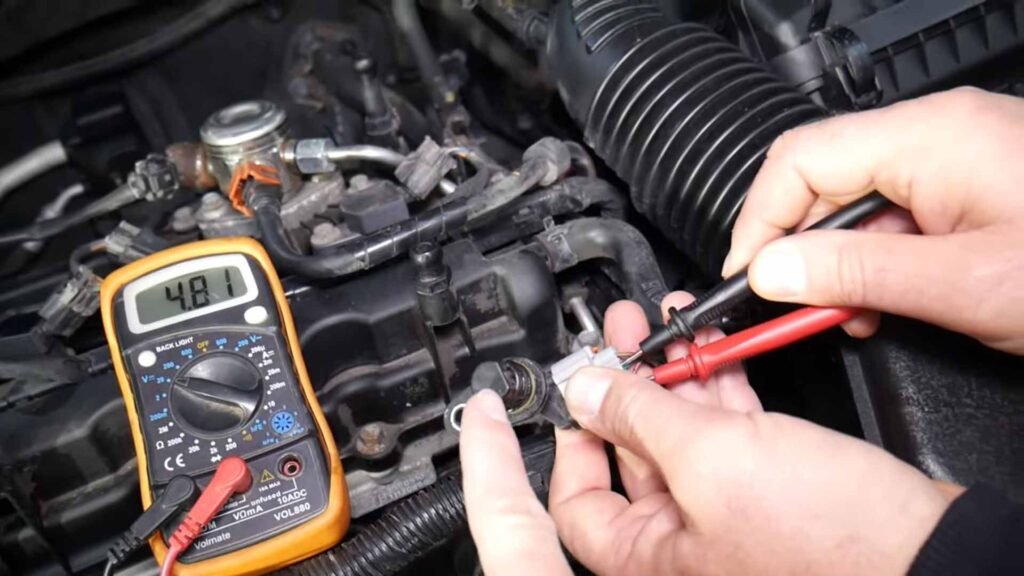
Attach one end of the digital multimeter to each wire of the sensor. The reading of resistance should be near the manufacturer’s default value. To confirm the exact value please consult the manufacturer’s manual. If you are getting zero or infinite resistance values then it means the sensor is completely open or short so you just need to replace the sensor.
Sensor output voltage test
Reconnect the sensor to its original position and reconnect the negative terminal of the car’s battery carefully. Now start the engine and wait for a few minutes to idle it. Back-pin the sensor’s signal wire with the multimeter leads. If you are not sure about the sensor signal wire please refer to the service manual for the correct wiring diagram and wire color description. Do not short the wires be extra careful. Normal voltage reading should fluctuate between 500mv to 1000mv AC. If there is zero voltage or the voltage reading remains constant then it indicates that you have a faulty sensor that needs to be replaced.
Conclusion
For engine stability and reliable drive, the crankshaft sensor needs to perform perfectly. If you have trouble with car stability and are not sure if the issue is related to this sensor or not then you can perform the above tests for confirmation and it can also help you make the decision whether you need to replace the crankshaft sensor or not.
